Best Ways to Reuse Picture Frames: Studies, Expert Insight, and Creative Projects
A picture frame is more than just a housing for family or graduation photos. Picture frames are versatile display items that can be repurposed in countless ways. Upcycling old photo frames offers an opportunity to get creative while reducing household waste. Studies suggest that upcycling can help reduce environmental waste by encouraging homeowners to reuse old materials instead of purchasing new ones.
In this article, we will explore how old picture frames can be repurposed. We will also provide expert insights and practical ideas for preferred projects. Additionally, you’ll find data-driven insights on the environmental benefits of upcycling, along with expert advice to guide you through each project.
In This Article
- Why Repurpose Picture Frames? A Sustainable Choice
- Innovative Ways to Repurpose Picture Frames
- #2. Easter Egg Picture Frames: Seasonal Festivities Made Easy
- #3. Vanity Shelf: Chic and Functional Storage
- #4. Revamped Frame for Storing Sunglasses: Stylish and Organised
- #5. Gallery Wall: Elevate Your Interior Design
- #6. Frame Hanging Plants: A Green-Inspired Décor Project
- #7. Wooden Frame Lantern: Rustic and Elegant Lighting
- #8. Jewellery Display: Stylish and Functional Organisation
- #9. Bookshelves: Simple and Elegant Storage
- #10. Key Hanger: Simple and Practical
Why Repurpose Picture Frames? A Sustainable Choice
#1. Environmental Impact of Upcycling: Studies and Data
Repurposing an old picture frame is part of sustainability projects aimed at reducing waste generated in homes. According to the U.S. Environmental Protection Agency (EPA), the average American produces an estimated 4.9 pounds of waste each day, which includes household items such as old picture frames and, predominantly, plastic waste.
A study published in the Journal of Cleaner Production found that upcycling helps reduce environmental pollution by minimising the need for raw materials and manufacturing processes. By reusing old picture frames, you are also reducing carbon emissions associated with producing and transporting new ones.
#2. The Role of Creativity in Mental Health
Psychologists suggest that engaging in creative activities like DIY projects can improve our mental well-being. A 2022 study indicates that creativity fosters feelings of personal growth, problem-solving, and achievement. By simply transforming picture frames into new items, you can experience the psychological benefits of engaging in a rewarding creative task.
Innovative Ways to Repurpose Picture Frames
#1. Shadow Box: Showcases Memories and Creativity
Making a shadow box with a picture frame is one of the best repurposing ideas for old frames. Shadow boxes are deep-set frames used to display three-dimensional objects like collectables, memorabilia, and souvenirs. This project is perfect for preserving cherished memories.
According to interior design expert Emily Henderson, shadow boxes are “an excellent way to create a personal and meaningful display of cherished items.” Henderson emphasises using shadow boxes to add a touch of emotional significance to a room’s design, transforming a mere decorative piece into a storytelling element.
Materials Needed:
- Picture frame (depth: 1 inch or more)
- Construction adhesive or wood glue
- Craft board or plywood
- Fabric or decorative paper (optional)
- Screws, nails, and a hammer
- Two small hinges and a hook-and-eye latch
Tools Needed:
- Tape measure
- Shop saw or hand saw
- Drill
- Clamp
- Pencil
- Nail gun or hammer
Instructions:
- Prepare the Frame: Use a picture frame that is at least 1 inch deep. Remove any backing or glass from the frame, as it will not be needed for this project.
- Cut the Craft Board: Measure the interior dimensions of the frame and cut a piece of craft board or plywood to fit snugly inside. This will form the back of your shadow box.
- Assemble the Box: Using wood glue or construction adhesive, attach the craft board to the back of the frame. Ensure it is securely fixed, leaving enough space inside for the items you wish to display.
- Decorate the Interior (Optional): Line the inside of the shadow box with fabric or decorative paper to enhance its appearance. Choose colours and patterns that complement the items you plan to display.
- Add Hinges and Latch: Attach two small hinges to the side of the frame and a hook-and-eye latch to the opposite side. This will allow you to open and close the shadow box easily.
- Display Your Items: Once the shadow box is complete, fill it with your chosen items—whether it’s dried flowers, concert tickets, or small mementoes. The glassless front makes it easy to change out items as you please.
Skill Level: Intermediate
Time Estimate: 2-3 hours
Tip: For a rustic look, distress the frame with sandpaper and a dark stain.
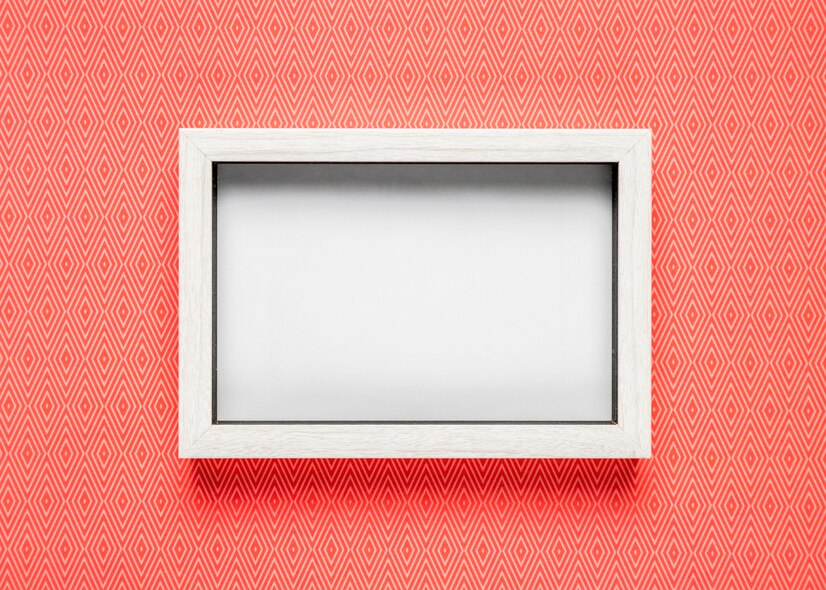
#2. Easter Egg Picture Frames: Seasonal Festivities Made Easy
Reusing an old oval-shaped picture frame to make a decorative Easter egg picture frame is an excellent way to reduce waste and repurpose an old display frame. This simple DIY project is perfect for celebrating the spring season and brightening your home with festive décor.
Materials Needed:
- Oval picture frame
- Spray paint (pastel or spring colours)
- Floral linens or patterned fabric
- Foam board
- Glue and scissors
- Paintbrush
- Egg templates (you can create these yourself or find them online)
Instructions:
- Clean and Paint the Frame: Wipe down the frame to remove dust and dirt. Then, apply several coats of spray paint in pastel colours like lavender, mint, or light blue. Allow the paint to dry completely before proceeding.
- Cut the Floral Fabric: Lay the floral linen or patterned fabric on a flat surface. Place the frame face down on the fabric and trace the inner edge. Cut the fabric to fit neatly inside the frame.
- Create the Egg Shape: Using the egg template, trace an egg shape on the foam board and cut it out. Adjust the size based on the dimensions of your frame.
- Assemble the Pieces: Glue the floral fabric onto the foam board, smoothing out any wrinkles. Insert the foam board into the picture frame, securing it in place with glue or small finishing nails.
- Display Your Easter Frame: Place your Easter egg frame on a mantel, shelf, or table as part of your seasonal décor. You can also hang it on the wall with picture-hanging strips for a polished look.
Skill Level: Beginner
Time Estimate: 1–2 hours
Tip: Add embellishments such as ribbons, faux flowers, or small decorative eggs to enhance the frame’s festive appearance.
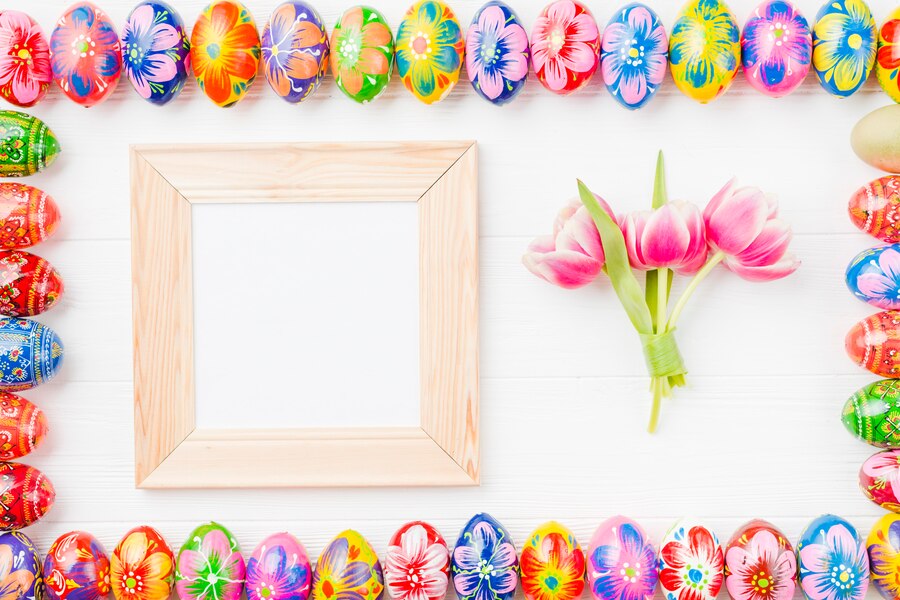
Learn More: 10 Eco-Friendly Crafts for Adults to Inspire Sustainability
#3. Vanity Shelf: Chic and Functional Storage
Another lovely piece you can upcycle from an old photo frame is a vanity shelf. This project is both practical and stylish. With just a few supplies, you can transform an old wooden display frame into a decorative shelf for storing cosmetics, toiletries, and other small items in your bedroom or bathroom.
Ana White, a DIY expert and carpenter, recommends repurposing picture frames for shelving due to their sturdy construction and aesthetic appeal. “By transforming a frame into a shelf, you get both a functional and beautiful piece,” says White. According to a 2018 study by the University of Auckland, upcycling small pieces of furniture, such as repurposing frames, can extend the lifespan of household goods by 15 to 20 years.
Materials Needed
- Wooden picture frame (medium to large size)
- Wooden boards or craft wood (for shelving)
- Wood glue or nails
- Sandpaper
- Paint or wood stain
- Wall anchors and screws (for mounting)
Tools Needed
- Tape measure
- Hand saw or circular saw
- Drill
- Paintbrush
Instructions
- Prepare the Frame and Boards: Remove any glass or backing from the frame. Sand the wooden boards to smooth out rough edges, then measure and cut them to fit within the frame. These boards will serve as shelves.
- Assemble the Shelf: Use wood glue to attach the boards to the back of the frame, creating shelves at even intervals. For added stability, secure the boards with nails.
- Paint or Stain: Once the shelves are attached, paint or stain the frame and shelves to match your décor. Allow the paint or stain to dry completely.
- Mount the Shelf: Use wall anchors and screws to mount the vanity shelf securely on the wall. Ensure the shelf is level and can support the weight of the items you plan to place on it.
Skill Level: Intermediate
Time Estimate: 3-4 hours
Tip: For a unique twist, line the shelves with patterned wallpaper or fabric for added flair.
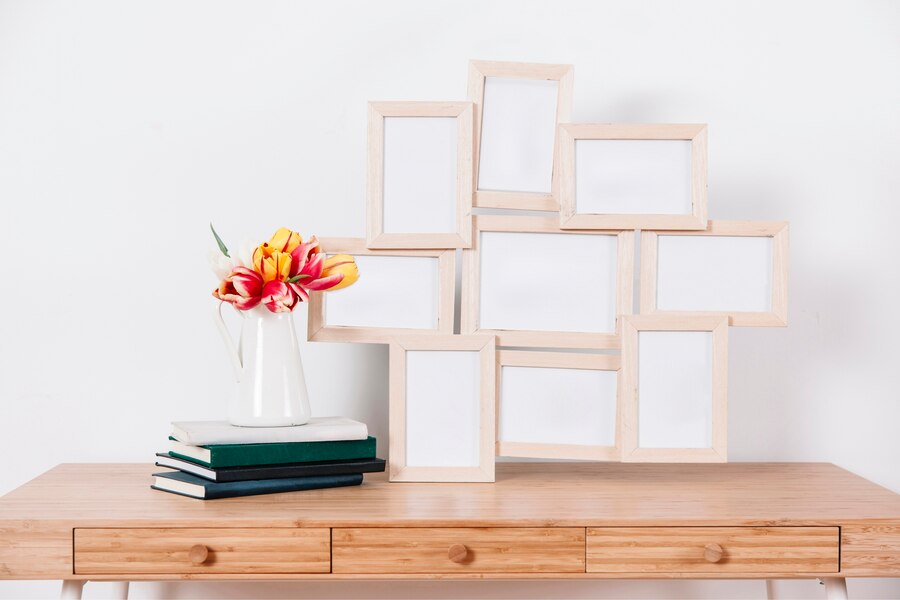
#4. Revamped Frame for Storing Sunglasses: Stylish and Organised
Transforming an old photo frame into a chic sunglasses holder is both sleek and sustainable. This is a project you’ll want to try, especially if you have a collection of sunglasses or other fashion accessories that you don’t want to misplace. Professional organiser Marie Kondo suggests that repurposing frames into functional items can help reduce clutter in the home, aligning with her famous KonMari method. “A sunglasses holder adds both beauty and utility, encouraging tidy habits,” says Kondo.
Materials Needed
- Large picture frame (preferably with a shadow box depth of 1 inch or more)
- Decorative paint
- Wire mesh or wooden dowels
- Glue gun
- Small nails or hooks
Instructions
- Paint the Frame: Clean the frame and apply a fresh coat of paint. Consider using metallic or bright colours to create a statement piece that complements your space.
- Add Wire Mesh or Dowels: Measure the interior of the frame and cut the wire mesh to fit. Attach the mesh to the back of the frame using small nails or glue. Alternatively, you can attach wooden dowels horizontally across the frame to hold the sunglasses.
- Secure the Sunglasses: Once the mesh or dowels are in place, hang the frame on the wall and use the wires or rods to hold your sunglasses.
Skill Level: Beginner
Time Estimate: 1-2 hours
Tip: Paint the frame with a glossy finish for a modern look, or distress it for a vintage vibe.
#5. Gallery Wall: Elevate Your Interior Design
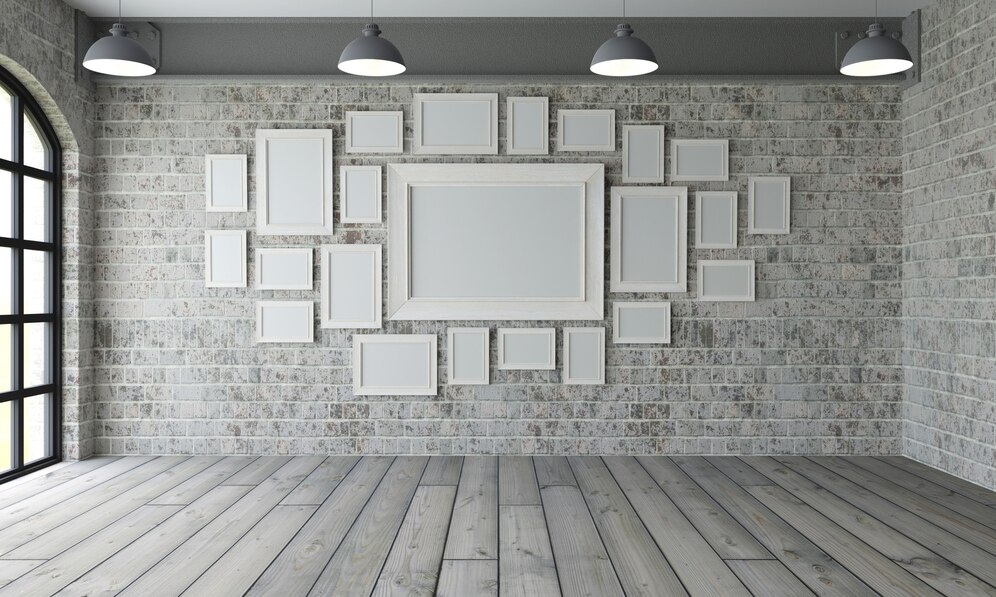
Designing a gallery wall with an old display frame is one of the most popular ways to showcase cherished memories, inspirational quotes, or artwork. A gallery wall can transform a blank space into a personal, customised art exhibit. According to a 2024 study, displaying personal art and photographs can enhance well-being and provide emotional comfort at home.
Materials Needed
- Various picture frames (of different sizes and styles)
- Measuring tape
- Kraft paper
- Picture-hanging hooks or strips
- Hammer and nails
Instructions
- Plan Your Layout: Before hanging anything, plan the layout of your gallery wall. Measure the available space and cut out templates from kraft paper to represent the frames. Arrange these paper templates on the floor until you find a layout you like.
- Transfer the Layout to the Wall: Once satisfied with the arrangement, tape the paper templates to the wall. This will serve as a guide for where each frame should go.
- Hang the Frames: Use picture-hanging hooks or adhesive strips to hang each frame in its designated spot. Ensure each frame is level before securing it to the wall.
Skill Level: Beginner
Time Estimate: 2-3 hours
Tip: Mix and match frame styles and sizes for a more eclectic and visually dynamic gallery wall.
#6. Frame Hanging Plants: A Green-Inspired Décor Project
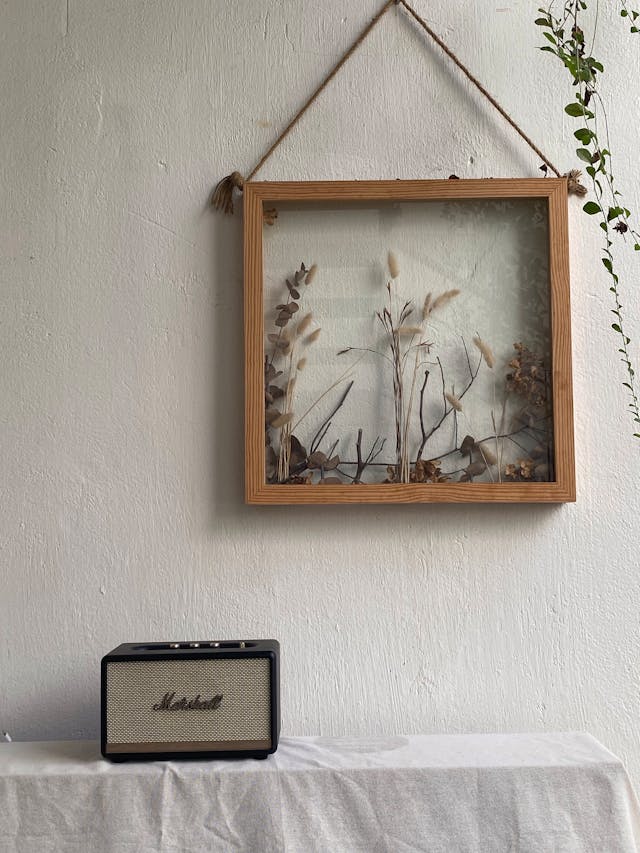
Hanging plants in picture frames add a touch of nature to any indoor space. This project is perfect for small areas, as it combines upcycled materials with vertical gardening principles. Studies from NASA show that certain indoor plants can improve air quality by filtering toxins. A simple upcycled picture frame displaying plants enhances the aesthetic of a room while contributing to environmental health.
Materials Needed
- Wooden picture frame
- Small plant pots or hanging baskets
- Rope or wire
- Paint or stain
- Nails and a hammer
- Small screws or wall hooks
Instructions
- Prepare the Frame: Sand and paint or stain the frame to your desired finish. Let it dry completely before proceeding.
- Attach the Pots: Secure small pots or hanging baskets to the back of the frame using screws or wire. Arrange the pots vertically or horizontally, depending on the frame’s size.
- Hang the Frame: Use sturdy wall hooks to hang the frame in a well-lit area. Ensure the frame can support the weight of the plants.
Skill Level: Intermediate
Time Estimate: 2–3 hours
Tip: Choose low-maintenance plants like succulents or air plants that require minimal watering and care.
#7. Wooden Frame Lantern: Rustic and Elegant Lighting
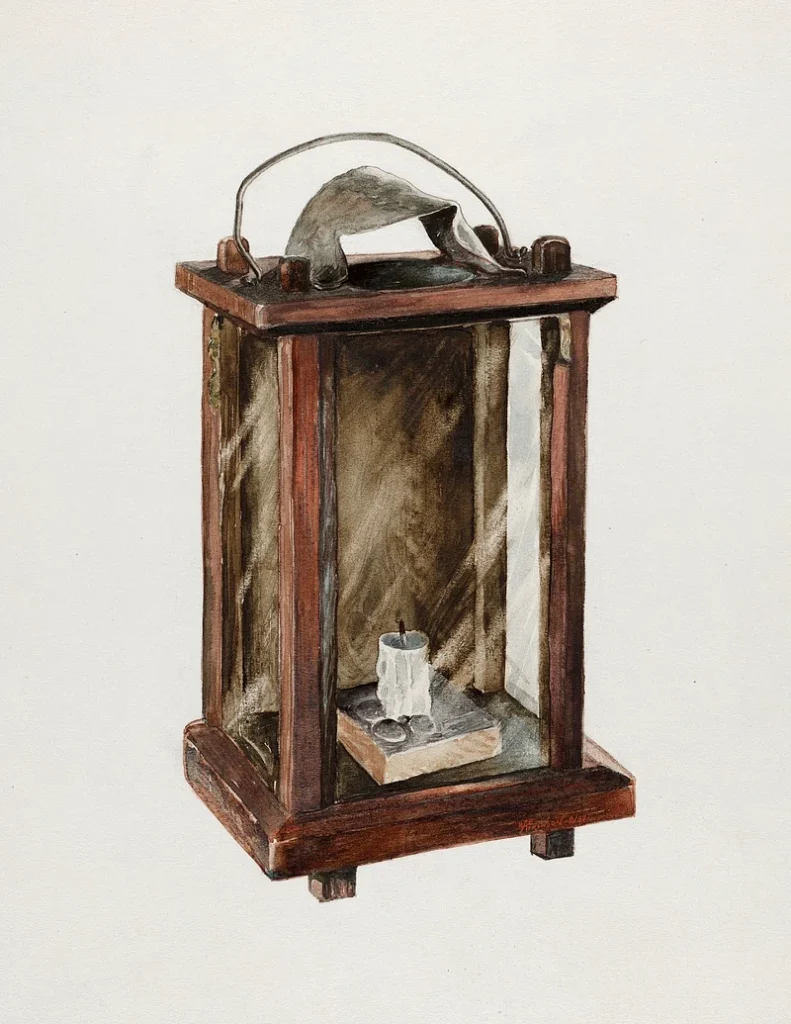
Another idea from this list involves repurposing an old wooden photo frame into a rustic lantern. Although it may seem old-fashioned, trust me—it adds a touch of elegance to your home. These lanterns can be used with battery-operated candles to create a cosy ambience.
Materials Needed:
- Four wooden picture frames
- Wood glue
- Nails
- Sandpaper
- Paint or wood stain
- Battery-operated candle
Instructions:
- Remove Glass and Backing: Start by removing the glass and backing from the frames.
- Assemble the Lantern: Arrange the frames in a square or rectangular shape and use wood glue to secure them together. Reinforce with nails if necessary.
- Add a Base and Top: Attach a wooden base and top to the lantern structure. Sand any rough edges, and paint or stain the wood to match your décor.
- Add the Candle: Place a battery-operated candle inside the lantern for a safe, flickering glow.
Skill Level: Intermediate
Time Estimate: 2-3 hours
Tip: Add decorative elements like metal handles or twine to enhance the lantern’s rustic appeal.
#8. Jewellery Display: Stylish and Functional Organisation
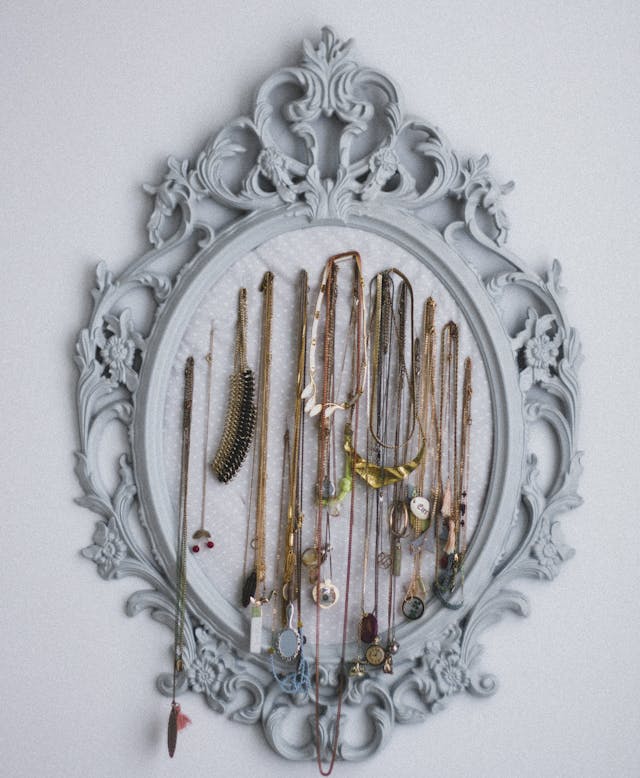
Old picture frames are great for storing and hanging jewellery. Simple chic jewellery displays are perfect for organising necklaces, earrings, and bracelets.
Materials Needed:
- Picture frame
- Wire mesh or lace doily
- Hooks or small nails
- Hot glue gun
- Paint or stain (optional)
Instructions:
- Prepare the Frame: Remove the glass and backing from the frame. Paint or stain the frame if desired.
- Attach the Mesh or Doily: Cut the wire mesh or lace doily to fit inside the frame. Secure it with hot glue or small nails.
- Add Hooks or Nails: Attach small hooks or nails to the frame to hold necklaces and bracelets. Earrings can be hung directly on the mesh or lace.
Skill Level: Beginner
Time Estimate: 1-2 hours
Tip: For a more luxurious look, use velvet or silk fabric as the background for your jewellery display.
#9. Bookshelves: Simple and Elegant Storage
This DIY project involves transforming large picture frames into a bookshelf for storing books, magazines, and other decorative items. A repurposed bookshelf adds a touch of elegance to your room and is a perfect option for decorating small spaces.
Materials Needed
- Large picture frame
- Flat wooden boards
- Wood glue or nails
- Paint or stain
- Wall anchors and screws
Instructions
- Prepare the Frame and Boards: Measure the inside of the frame and cut the wooden boards to fit as shelves. Sand the edges of the boards for a smooth finish.
- Assemble the Bookshelf: Attach the boards to the back of the frame using wood glue or nails. Ensure the shelves are level and securely attached.
- Paint or Stain: Paint or stain the frame and shelves to match your home décor.
- Mount the Bookshelf: Use wall anchors and screws to mount the bookshelf on the wall.
Skill Level: Intermediate
Time Estimate: 3-4 hours
Tip: Choose a frame with intricate details to add a decorative element to the bookshelf.

#10. Key Hanger: Simple and Practical
By simply upcycling an old display frame into a key hanger, you may never have to misplace your keys again. Gather a few supplies to create your own customised key hanger.
Materials Needed:
- Small picture frame
- Coat hooks or cup hooks
- Screws
- Paint or stain (optional)
Instructions:
- Prepare the Frame: Remove the glass and backing from the frame. Paint or stain the frame if desired.
- Attach the Hooks: Screw the coat hooks into the bottom of the frame. Space them evenly to allow room for multiple keys.
- Mount the Key Hanger: Use screws or adhesive strips to mount the key hanger on the wall in a convenient location.
Skill Level: Beginner
Time Estimate: 1 hour
Tip: Add small labels or decorative embellishments to personalise your key hanger.
Conclusion
Repurposing picture frames presents countless opportunities to create functional, stylish, and environmentally friendly home décor. From shadow boxes and gallery walls to vanity shelves and hanging plant holders, these DIY projects allow you to engage your creativity while promoting sustainability. Studies suggest that upcycling not only benefits the environment but also contributes to mental well-being, making these projects both practical and rewarding.
By following these tips and incorporating expert insights, you can transform old frames into something new, enhancing your living space while reducing waste.


